Input TAR Record
Allows user to create a new TAR Record. Please note that all fields marked with (*) must be filled out.
1.Click on TAR tab from the left menu.
Click on the TAR By Year tab from the top menu.

Click on the Input TAR Record on the upper right corner of the screen.

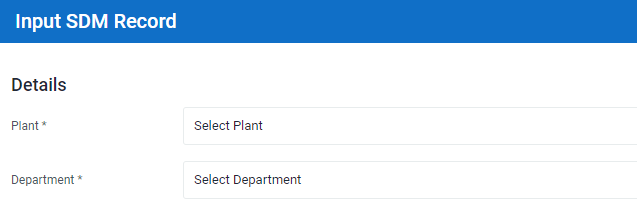
Select the correct Plant and Department information from the dropdown list.
Input the Task Name for the TAR Record

Input the Inspection Date and Description for the TAR Record that you are creating.

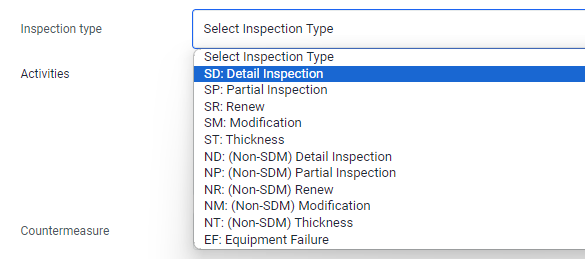
7.Select the Inspection Type from the drop down list, if applicable.
Input the activities done for the TAR record, if applicable.

Select Judgement for the TAR Record from the drop down list, if applicable.

Enter Remarks in the input field provided, if applicable.
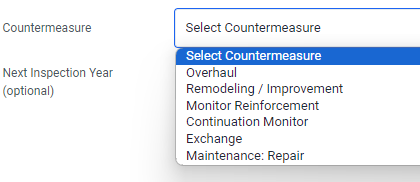
Select Countermeasure for the TAR Record from the drop down list, if applicable.
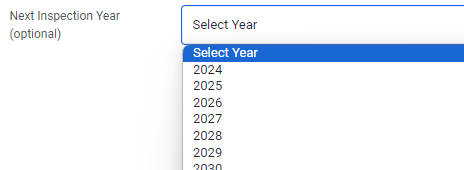
Select the Next Inspection Year from the drop down list, if applicable.
Select Completed if the TAR Record has been completed. Note: When a task is marked completed, its status will be changed from "P" (Pending) to "C" (Completed) in the TAR Master Plan listing.

If there is/are document(s) you wish to upload, you are able to do so under Document. Click Choose File. A File Explorer application on your local machine will appear. You can select the document you wish to upload from your local computer.
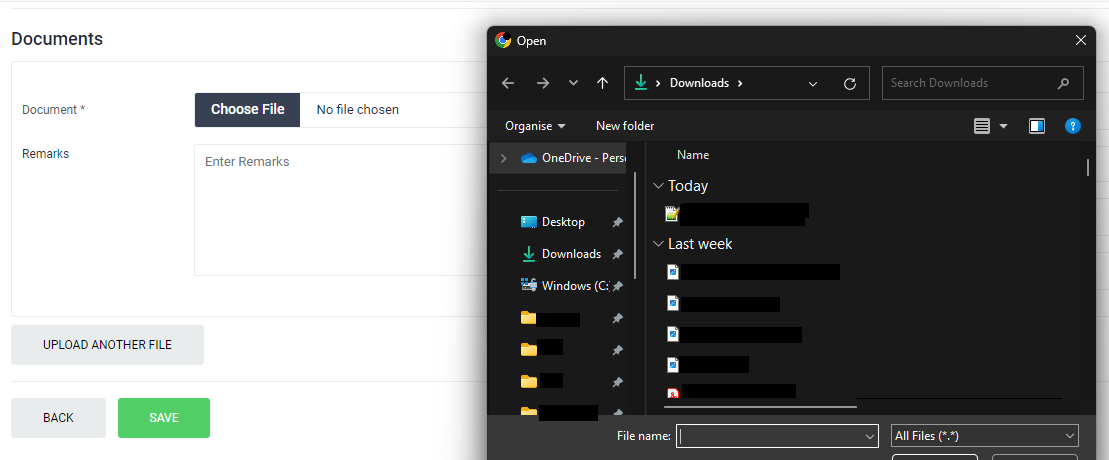
Enter your remarks in the Remarks field. Please input meaningful description of the uploaded document.
Select the Reference Year of the document.
Enter the name of the document. The uploaded document can be searched and retrieved by its name in the Documents Module.
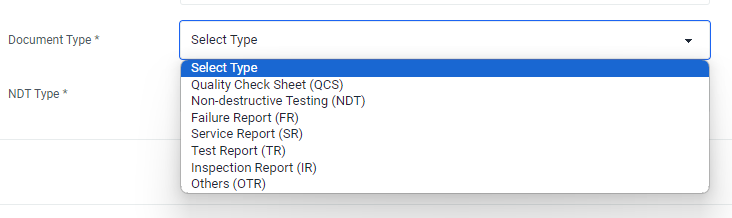
Select the Document Type from the drop down list. You should select the document type that is most relevant to the document uploaded.
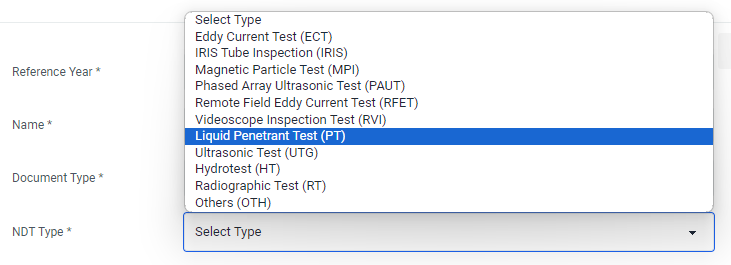
If the document type selected earlier is "NDT", please select the NDT Type . Otherwise this field will not appear.
Click Save to complete creating a new TAR Record.
Last updated